How to Apply Self Tanner Without Streaks: Your Ultimate Guide
July 14, 2026 13 min read 2,677 words
Achieve a perfect, sun-kissed glow effortlessly with our expert techniques for a flawless, streak-free self-tan.
Get Your Glow Now
The Foundation of Flawless: Pre-Tanning Preparation
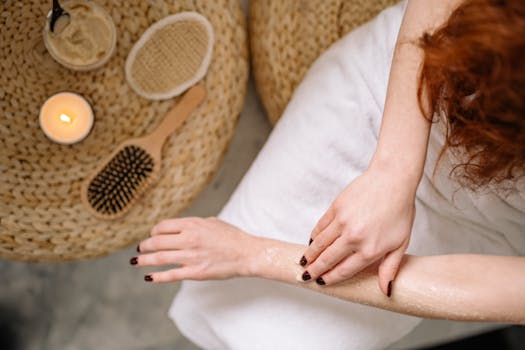 Photo: Yan Krukau / Pexels
Achieving a perfectly streak-free self-tan isn't just about the application; it's profoundly rooted in the preparation of your skin. Think of your skin as a canvas – the smoother and more uniform it is, the better the 'paint' (self-tanner) will adhere and look. This crucial pre-tanning phase can make or break your results, transforming a potentially blotchy disaster into a radiant, natural-looking glow. Many people overlook these vital steps, rushing straight to application, only to be disappointed by uneven color. However, with a little patience and the right techniques, you can set yourself up for tanning success.
The first, and arguably most important, step is exfoliation. Your skin naturally sheds dead skin cells, but if these aren't removed, they can create a rough, uneven surface. When self-tanner is applied over dead skin cells, it clings to these dry patches, resulting in darker, patchy areas that scream 'fake tan.' To combat this, you need to thoroughly exfoliate your entire body. We recommend using a physical exfoliant, such as a sugar scrub, salt scrub, or an exfoliating mitt, at least 24 hours before you plan to apply your self-tanner. This timeframe allows your skin to calm down from any irritation caused by scrubbing. Pay particular attention to areas prone to dryness or roughness, like elbows, knees, ankles, and any areas where skin naturally folds. Gentle, circular motions are key here to avoid over-exfoliating or causing micro-tears in the skin. After exfoliation, ensure you rinse off all scrub residue thoroughly.
Following exfoliation, it’s essential to consider hair removal. If you shave, wax, or use depilatory creams, do so at least 24 hours before tanning. This gives your hair follicles time to close. Applying self-tanner immediately after shaving can cause the product to settle into open pores, leading to tiny dark spots, often referred to as 'strawberry legs.' Waxing or sugaring should also be done well in advance, ideally 48 hours prior, to allow for any post-hair removal sensitivity to subside. Remember, healthy, calm skin absorbs self-tanner much more evenly. After showering and exfoliating, ensure your skin is completely dry before moving to the next step. Any residual moisture can dilute the self-tanner or cause it to run, leading to streaks. Pat your skin dry with a towel, and if you have extra time, allow it to air dry for a few minutes. This meticulous preparation might seem like a lot of effort, but it's the non-negotiable secret to learning
how to apply self tanner without streaks, guaranteeing a smooth and uniform base for your desired glow.
Mastering the Art of Application: Tools and Techniques
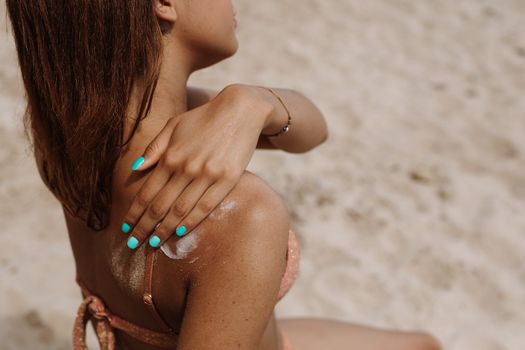 Photo: www.kaboompics.com / Pexels
Once your skin is prepped to perfection, the actual application of self-tanner becomes a much more manageable and rewarding process. The right tools and techniques are paramount in ensuring an even, streak-free finish that looks naturally sun-kissed, not artificially tinted. Forget the days of messy hands and uneven patches; modern self-tanning has evolved, and so should your approach.
The first essential tool is a high-quality tanning mitt. This isn't just a suggestion; it's a game-changer. A tanning mitt protects your hands from staining, which is a dead giveaway of a self-tan, and more importantly, it helps distribute the product smoothly and evenly across your skin. Most mitts are designed with a soft, velvety surface that glides over the skin, preventing streaks and blotches. When choosing a mitt, look for one that is washable and reusable, and consider having a smaller mitt or a blending brush for intricate areas like hands, feet, and face. Never apply self-tanner directly with bare hands, unless it's a specific product designed for that purpose (which is rare for full-body applications).
Before you start applying, lightly moisturize specific dry areas. Even after thorough exfoliation, certain parts of your body tend to be drier and can absorb more self-tanner, leading to darker patches. These 'hot spots' include elbows, knees, ankles, wrists, and the tops of your feet. Apply a thin layer of a light, oil-free moisturizer to these areas. This creates a subtle barrier, preventing the self-tanner from clinging too intensely to these thirsty spots. Be careful not to over-moisturize, as too much product can also cause streaks by diluting the tanner. For tricky areas like the back, consider investing in a back applicator mitt or enlist the help of a friend. Don't forget to moisturize around your hairline and eyebrows, especially if you have lighter hair, to prevent the tanner from staining them.
Now for the application itself: work in small sections. Dispense a small amount of self-tanner onto your mitt – start with a quarter-sized dollop for a limb, adjusting as needed. Begin with your legs, then move to your torso, arms, and finally, your face, hands, and feet. Apply the product using broad, circular motions, blending as you go. Overlap each section slightly to avoid harsh lines. For areas like the knees and elbows, bend them slightly during application to stretch the skin, ensuring product gets into all creases. When you reach your hands and feet, use very little product. Use the residual tanner on your mitt or apply a tiny dot of product, then blend lightly over the tops of your hands and feet, around the knuckles, and blend gently towards the fingers and toes. For the face, mix a small amount of tanner with your regular moisturizer for a more subtle, natural blend, or use a dedicated facial self-tanner. The key is even distribution and meticulous blending to ensure a truly natural, streak-free result. Remember, practice makes perfect when learning
how to apply self tanner without streaks.
Post-Application Care and Maintaining Your Golden Glow
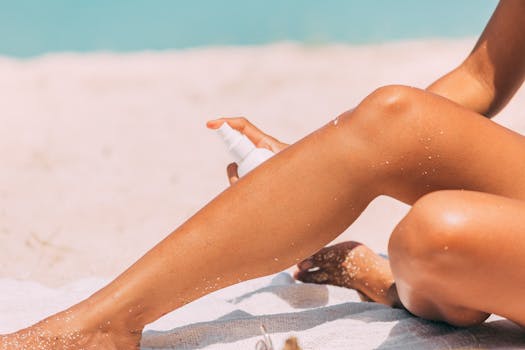 Photo: Mikhail Nilov / Pexels
The application process is only half the battle when it comes to achieving and maintaining a flawless, streak-free self-tan. What you do immediately after tanning and in the days that follow is just as crucial for ensuring longevity, even fading, and preventing those dreaded patchy spots. Proper post-application care can extend the life of your tan and keep it looking fresh and natural for longer.
Once you’ve finished applying your self-tanner, the waiting game begins. Most self-tanners require a specific development time, typically ranging from 4 to 8 hours, before they can be rinsed off. During this period, it's vital to avoid any activities that could cause sweating, friction, or exposure to water. This means no showering, swimming, intense workouts, or even wearing tight clothing that could rub against your skin. Loose, dark clothing is your best friend during this development phase to prevent any transfer onto fabrics. Try to avoid sitting directly on light-colored furniture and be mindful of accidental splashes from washing hands or doing dishes. If possible, apply your self-tanner in the evening and allow it to develop overnight; this minimizes activity and gives the product ample time to work its magic undisturbed.
After the recommended development time, it's time for your first rinse. When you step into the shower, use lukewarm water and avoid using harsh soaps or scrubs. Allow the water to gently run over your skin, rinsing off the bronzer guide color until the water runs clear. Do not scrub or vigorously rub your skin, as this can strip away the developing tan. A quick, gentle rinse is all that's needed. Once out of the shower, pat your skin dry with a soft towel rather than rubbing. Vigorously drying can create streaks or remove developing color, especially if the tan hasn't fully set.
To prolong your golden glow and ensure it fades evenly, daily hydration is non-negotiable. Apply a rich, non-oil-based moisturizer to your entire body at least once, preferably twice, a day. Hydrated skin retains its tan better and prevents the dry, flaky patches that can make a tan look uneven as it fades. Consider using a tan-extending lotion or a gradual self-tanner every 2-3 days. These products contain a small amount of DHA, which helps to top up your existing tan, keeping it looking fresh and vibrant without the need for a full reapplication. Avoid products containing harsh exfoliants, retinoids, or AHAs/BHAs, as these can accelerate tan fading. Swimming in chlorinated water or prolonged hot baths can also cause your tan to fade more quickly, so try to limit these activities. By consistently moisturizing and gently topping up your tan, you'll discover the true secret to maintaining a flawless, sun-kissed look long after you've mastered
how to apply self tanner without streaks.
Common Self-Tanning Mistakes and How to Avoid Them
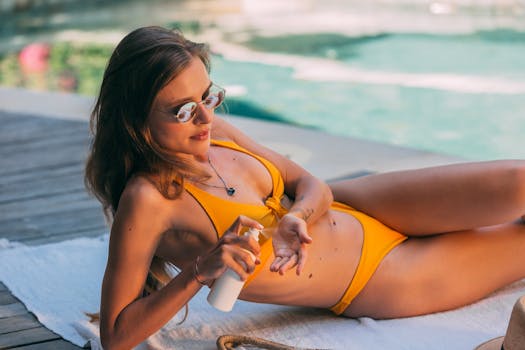 Photo: Mikhail Nilov / Pexels
Even with the best intentions and meticulous preparation, self-tanning can sometimes go awry. Understanding the most common pitfalls and proactively avoiding them is crucial for consistently achieving that perfect, streak-free glow. Many of these mistakes are easily preventable with a little foresight and adjustment to your routine.
One of the most frequent errors is applying too much product, especially in concentrated areas. Self-tanner is potent, and a little goes a long way. Over-applying can lead to a darker, unnatural hue and increase the likelihood of streaks and uneven patches. Instead, start with a smaller amount on your mitt and gradually build up if needed. It's always easier to add more product than to remove excess.
Another common mistake is neglecting those tricky, often-forgotten areas. This includes the back of the neck, behind the ears, the inner elbows, and underarms. These spots are often missed, leading to a noticeable line where the tan abruptly ends. Use a mirror, a back applicator, or a friend's help to ensure every inch of skin gets even coverage. Similarly, failing to properly blend at the hairline, wrists, and ankles can create harsh lines. Always feather out the product at these transition points, using minimal product on the mitt.
Here’s a list of other frequent self-tanning errors and their solutions:
* **Not moisturizing dry spots:** As discussed, dry areas absorb more tanner. Always apply a thin layer of moisturizer to elbows, knees, ankles, and hands before tanning.
* **Applying on damp skin:** Self-tanner needs a completely dry canvas. Any moisture will dilute the product and cause streaking. Ensure your skin is thoroughly dry after showering and moisturizing.
* **Using the wrong product for your skin tone:** If you're fair, starting with a gradual self-tanner or a lighter shade can prevent an unnatural orange tint. Gradually build up color rather than going for a deep tan in one go.
* **Skipping the mitt:** Bare hand application almost always results in stained palms and uneven application. A tanning mitt is a non-negotiable tool.
* **Not allowing enough development time:** Rinsing too early can result in a lighter, less developed tan, while waiting too long (beyond the recommended time) doesn't necessarily make it darker and can sometimes lead to patchiness.
* **Wearing tight clothing immediately after:** Friction from tight clothes can rub off the developing tan, leading to streaks. Opt for loose, dark garments post-application.
* **Not maintaining hydration:** Dry skin causes your tan to fade unevenly and look patchy. Moisturize daily to keep your skin supple and your tan looking fresh.
* **Forgetting about sun protection:** Self-tanner does not provide sun protection. Always wear SPF when exposed to the sun, even with your faux glow.
By being mindful of these common mistakes, you can significantly improve your self-tanning results and confidently achieve a consistently beautiful, streak-free tan every time.
